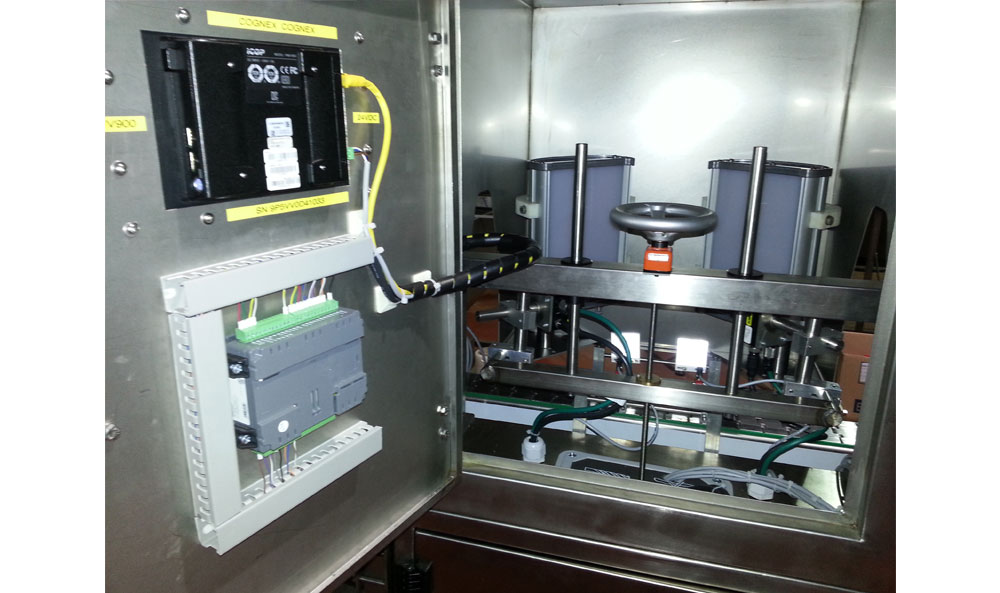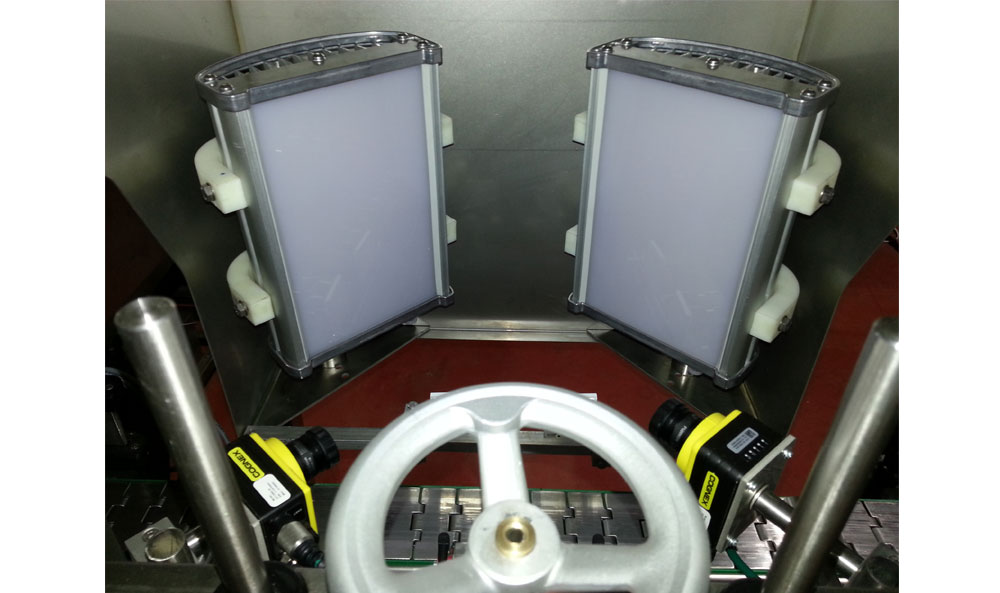

Inspection has the purpose of detection if the cap on the bottle is present and is it properly positioned. Reference points for cap regularity inspection are on the edge of the bottleneck:
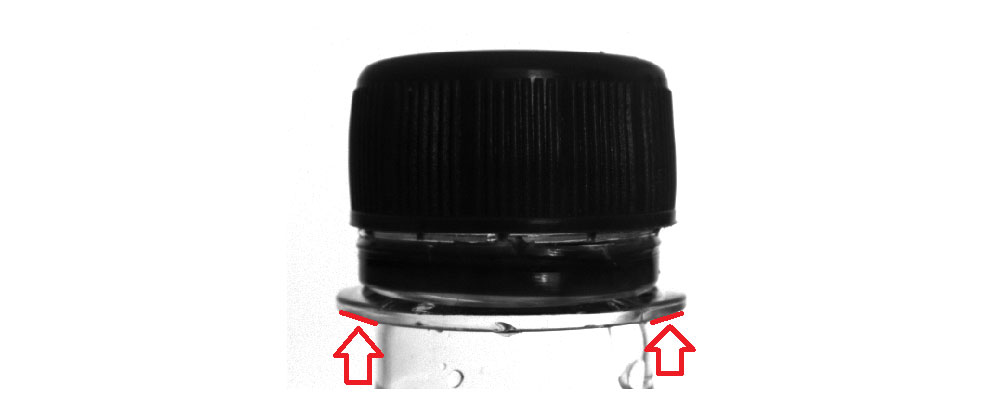
Depending on the relation of these two reference bottle edges we perform the measurement of the cap height (its ending left and right edges). The distance of the top of the cap from the reference points is showed in pixels and is used as a criteria for deciding it the cap is properly positioned.
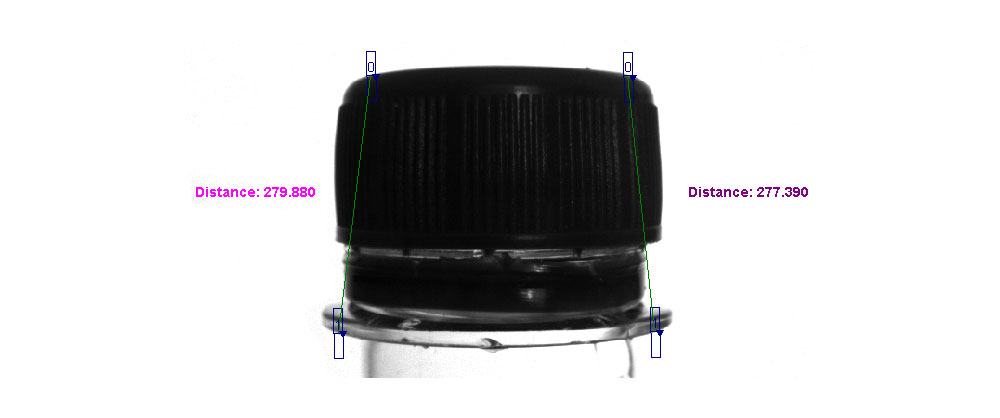
When you are doing the inspection, you will see the following picture on the screen:
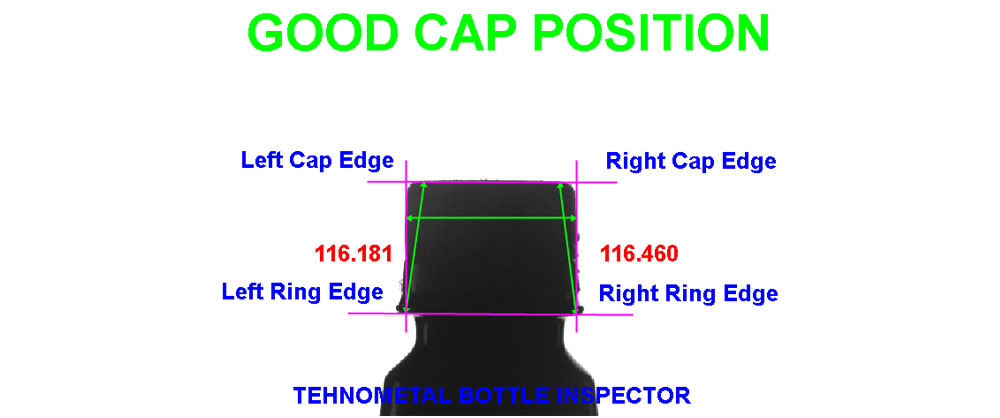
The purple lines are the lines which the camera recognized as reference ones for measuring the proper cap position and detection of the cap presence. The green lines show the positon of measuring.
The values from 116.181 and 116.460 are the values of the distance (marked by a green line) from the edge of the bottleneck to the top of the cap on the left and right side. In the camera program there are ranges in which both values can move in order for the bottle to be declared proper. These ranges can change according to the current dimension of the flowing bottle format. They cannot be set by operators on the operating panel. Only an authorized person is allowed to do this and it can make this change only by connecting its PC to the inspection system.
Cameras have fixed IP addresses and they are _________________and____________________. In order for the authorized person to be connected to any camera it is necessary that its PC is put under the range of the addresses which correspond the cameras.
For connecting the PC to the cameras a software is used. It is called InSightExplorer 4.8.4 and is delivered on a USB flash drive together with the inspection documents. You can also download it for free through the following link:
http://www.cognex.com/support/downloads/File.aspx?d=2658
When the software is installed the following icon will appear on your desktop screen:

By activating this icon you will open the following window:
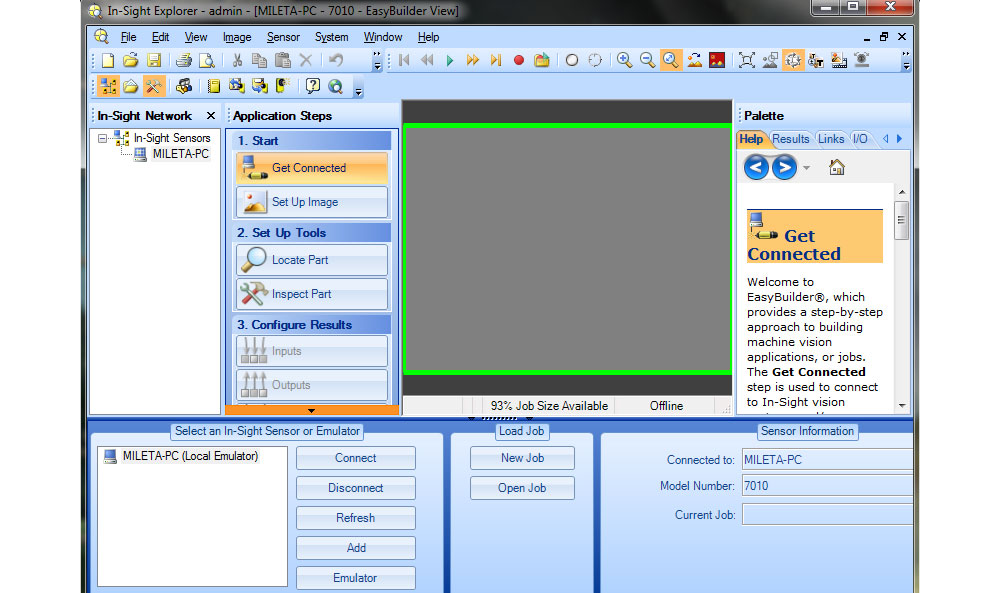
The camera marks which are installed together with the inspection system will appear in the lower left corner in the window Select and In-Sight Sensor or Emulator (next to the camera name , there is a yellow icon with the little picture of the camera):
In order to make the connection with the camera it is necessary to select one of the cameras and click on the button Connect. In lower right corner a window will appear which will say Connected to: name of the previously selected camera. This is the confirmation that your computer has connected to the camera.

When the connection is established the following picture will appear:
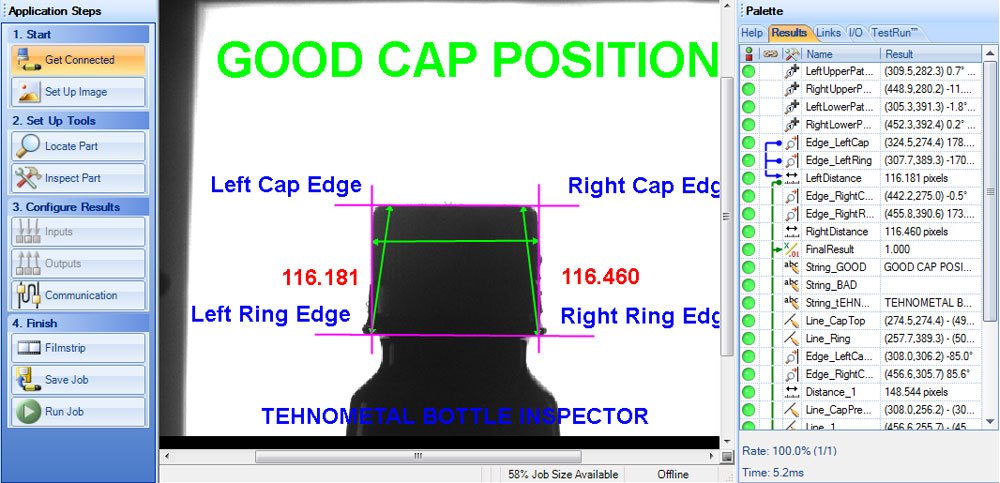
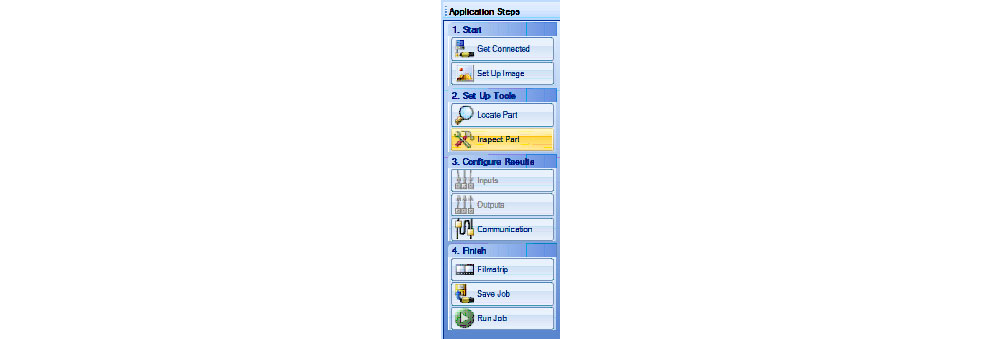
In the Application Steps table you need to select Inspect Part
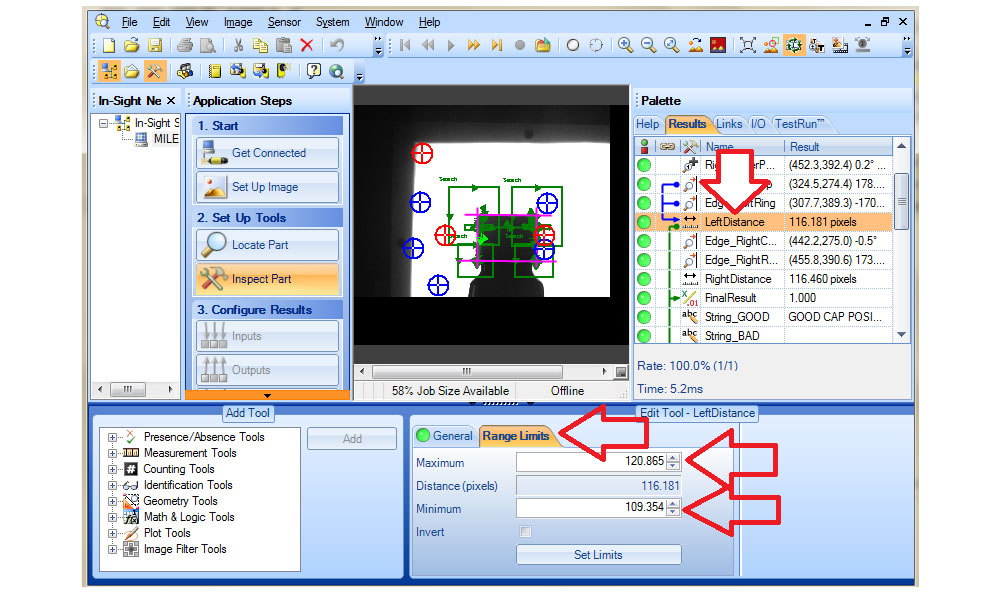
In the Pallete table click two times on the field LeftDistance in order to open the field for range setting of the height for the left cap side.
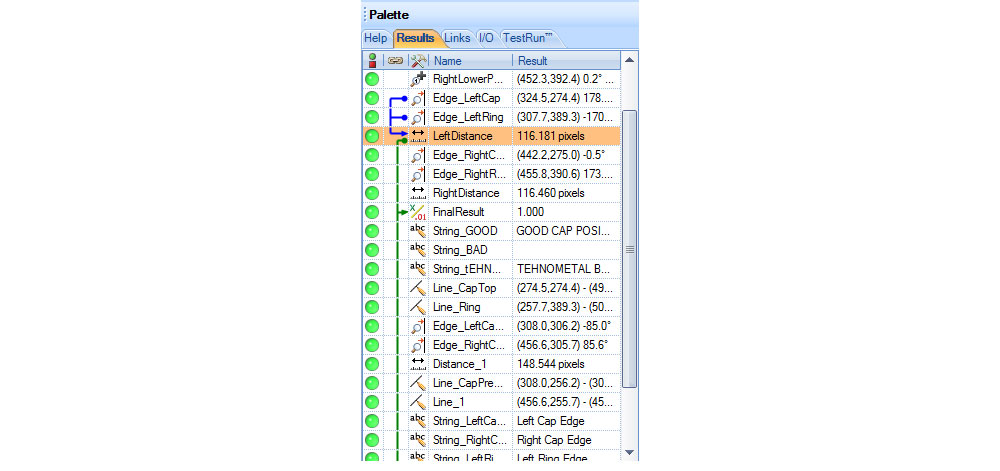
After a double click on the LeftDistance field in the Pallete table (mark by red arrow) in the lower part of the screen Edit Tool – Left Distance will appear. In the field Range Limits you can set the range of the allowed distance of the left edge of the cap top from the bottleneck. You have the possibility to set Maximum and Minimum values of this criteria.

The camera actively does the inspection when it is in the Online mode. The Offline mode is used only for setting the camera parameters. In this mode the camera does not perform the inspection.
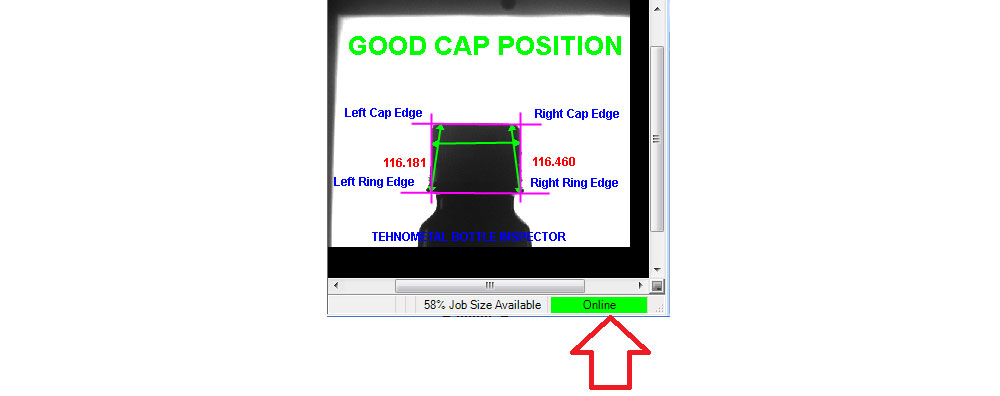
When the camera is in the Online mode, under the picture is a green Online field as a conformation of the inspection regime.
How the inspection looks
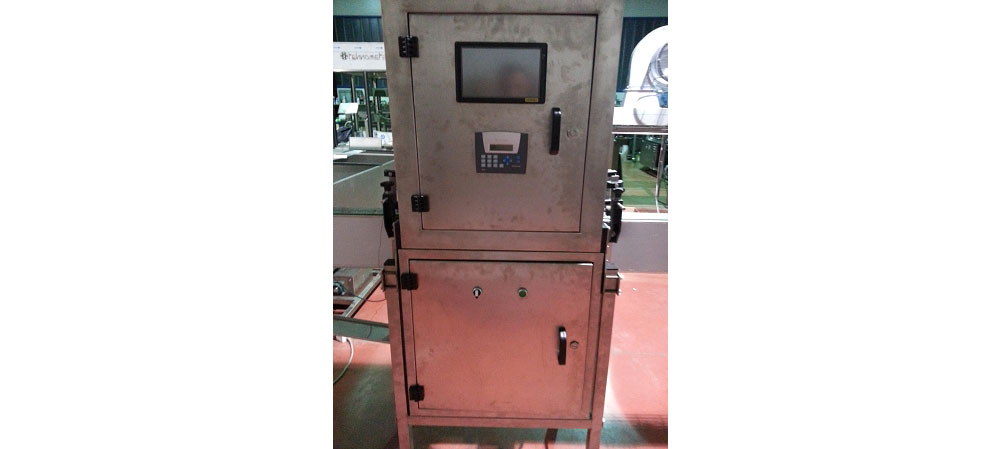
Position of the camera and lights
